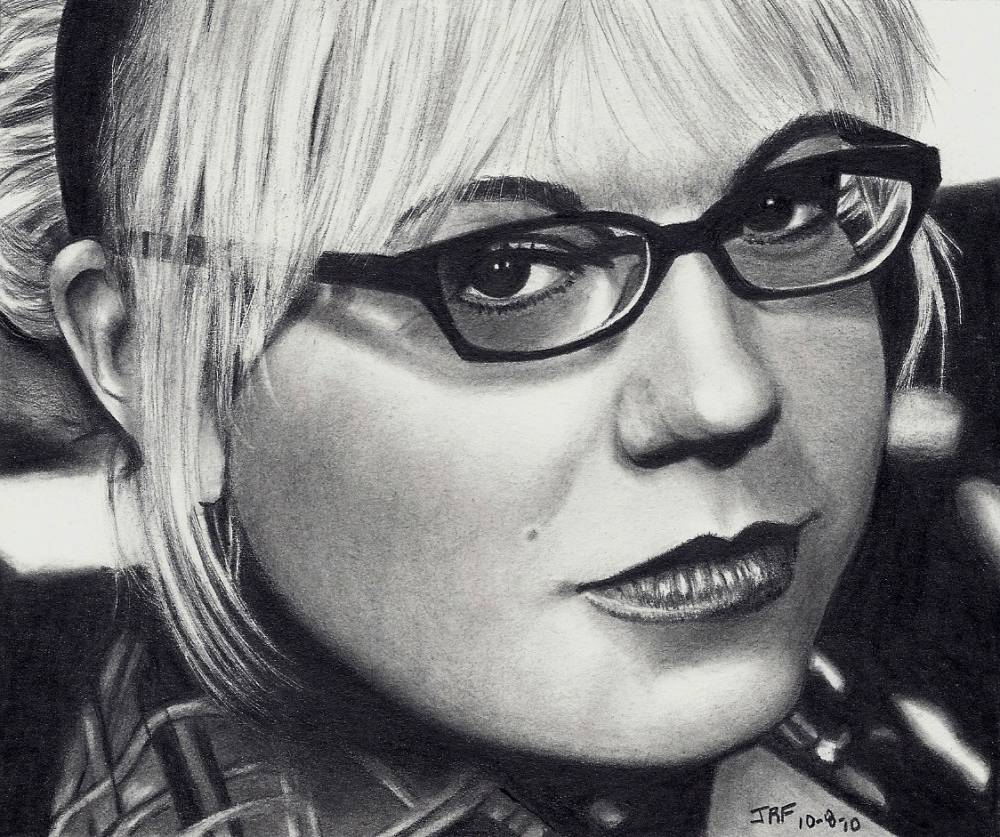
This is my WIP#2 of Robert DeNiro & Cuba Gooding Jr. I'm trying a new technique for skin texture using ONLY 2B in 0.5mm mechanical pencil with NO blending. Normally, I lay down some graphite and blend it in, using blending stumps.
In this example, I've covered the right 1/2 of my drawing with paper, and secured it with tape until I finish DeNiro. Then, I'll tape paper over DeNiro and draw Cuba Gooding Jr. At some point, I'll remove all paper coverings and draw it as a whole, but because so much has to be done on each portrait, I found it best to do this. When drawing normally, I ALWAYS cover my drawing, where my hand rests, using a 1/2 sheet of copy paper
. This is the best way to protect virgin areas from getting accidentally smudged.
At some point in this drawing, I will use some minor blending, but just in SOME small areas, using blending stumps and a color shaper. A
color shaper looks like a paint brush, but has a rubber tip at the end, and comes in a variety of shapes. Unlike blending stumps, which
removes graphite as you render, the rubber tip simply moves the graphite around, thus creating a "different" effect.
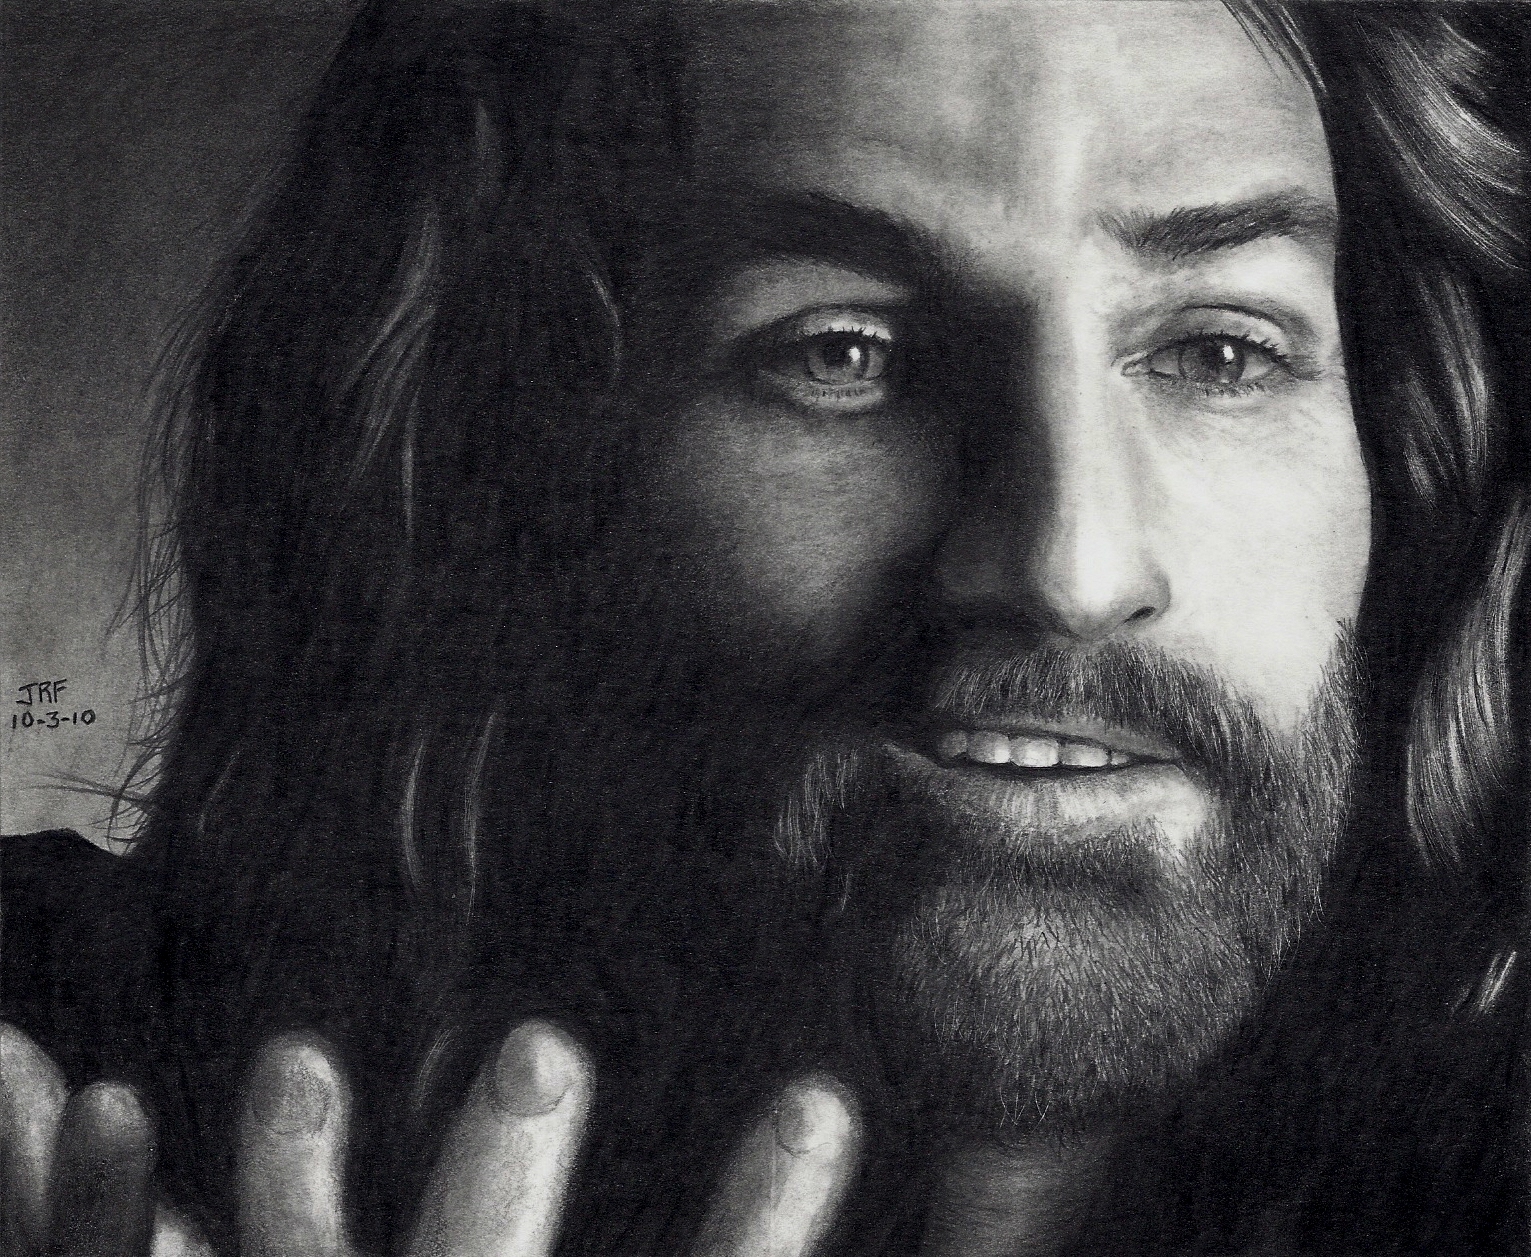
I've allowed for an EXTRA LARGE VIEW here, so you can see the details (
CLICK ON DRAWING TO ENLARGE).
The TOTAL size of this drawing is ONLY 7.5 x 5.75 inches, so I need to use a magnifying glass for small eye details, etc. I've experimented on drawing size more than Goldilocks and have a detailed blog post on WHY I draw so small. Check out my TIP BLOG
www.DrPencil.wordpress.com and browse the archives, or just click
HERE
No matter how good your scanner is, NOTHING is better than viewing a drawing than with your naked eye, because a scanner never picks up all the subtle shading when it gets digitized. Go
HERE to see how I scan my drawings!
I ALWAYS try to learn something NEW on EVERY SINGLE DRAWING I MAKE. So should YOU...it's HOW we grow as artists! Happy Drawing!
~Rick aka
DrPencil


